'Recognizing the need is the primary condition for design.'

Charles Eames

'To design is to communicate clearly by whatever means you can control or master.'
Milton Glaser

Layer Masking, use the two .jpg files below for this task

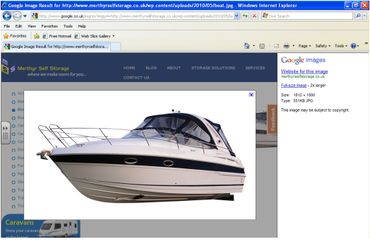
boat.jpg
JPG image [550.3 KB]
Seascape.jpg
JPG image [3.0 MB]

Activity 1 - How to make a layer mask

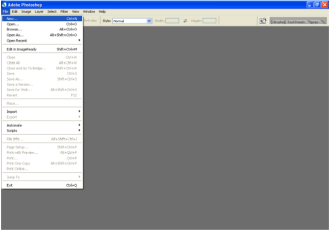
Open Photoshop

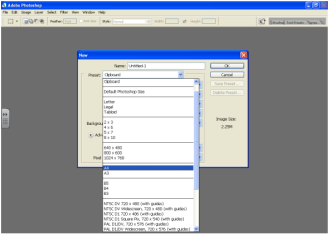
Start a new document at A4 size


  • Press OK


  • Now go to the internet and use Google images to find a new image


  • Copy (Ctrl - C) and paste (Ctrl - P) the image you found (you can also use the one provided at the top of this page) into Photoshop


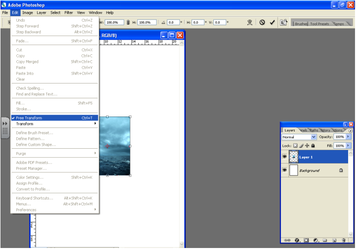
  • Now press Ctrl – T or go to Edit / Free transform and stretch out the image to fit the page by clicking and draging the corner


Press Enter (Image clears up)


Now find another image of an object (you can use the one on this page at the top), this can be anything, copy and paste this into Photoshop. It will appear on its own Layer above your last one.


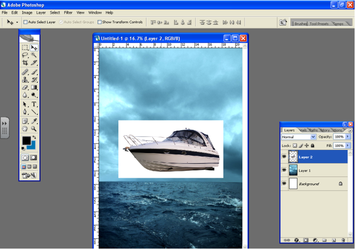
<----- Your screen should now look like this picture 

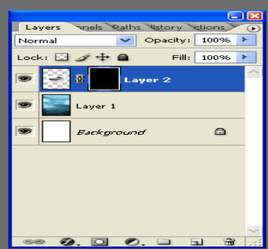
Now go to Layers / Layer Mask / Hide all and click


The layer mask will look like this in your layer pallet

Now click on your Brush tool and set the size of it so that it is useable

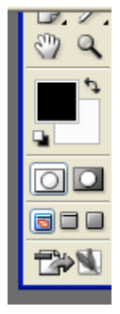
The back and fore ground colours at the bottom of your toolbar will be set to Black and White if you are in layer mask mode.

Select white to paint in the object and black to paint out the object

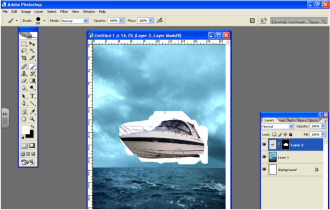
  • Paint in your object


  • Switch to Black by clicking the right angle arrow in your back ground / fore ground selector at the bottom of your tool panel.


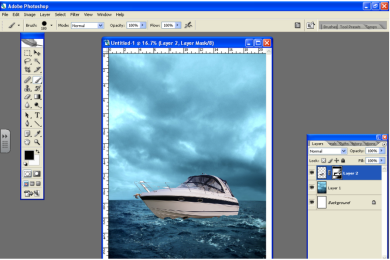
Now paint out any background that you do not want to see

You can also experiment with making selections & adding Layer masks and the Gradient tool and Layer Masking to procude high quality visually interesting effects.


Try using a selection on the finer details that you want to remove and then paint them out with the brush, this will restrict the mask to the selected areas.
Print | Sitemap
© Julian Kupper